Sunday, 25 November 2018
On my travels
Friday, 28 September 2018
Starting over
Thursday, 28 June 2018
On the Road Again
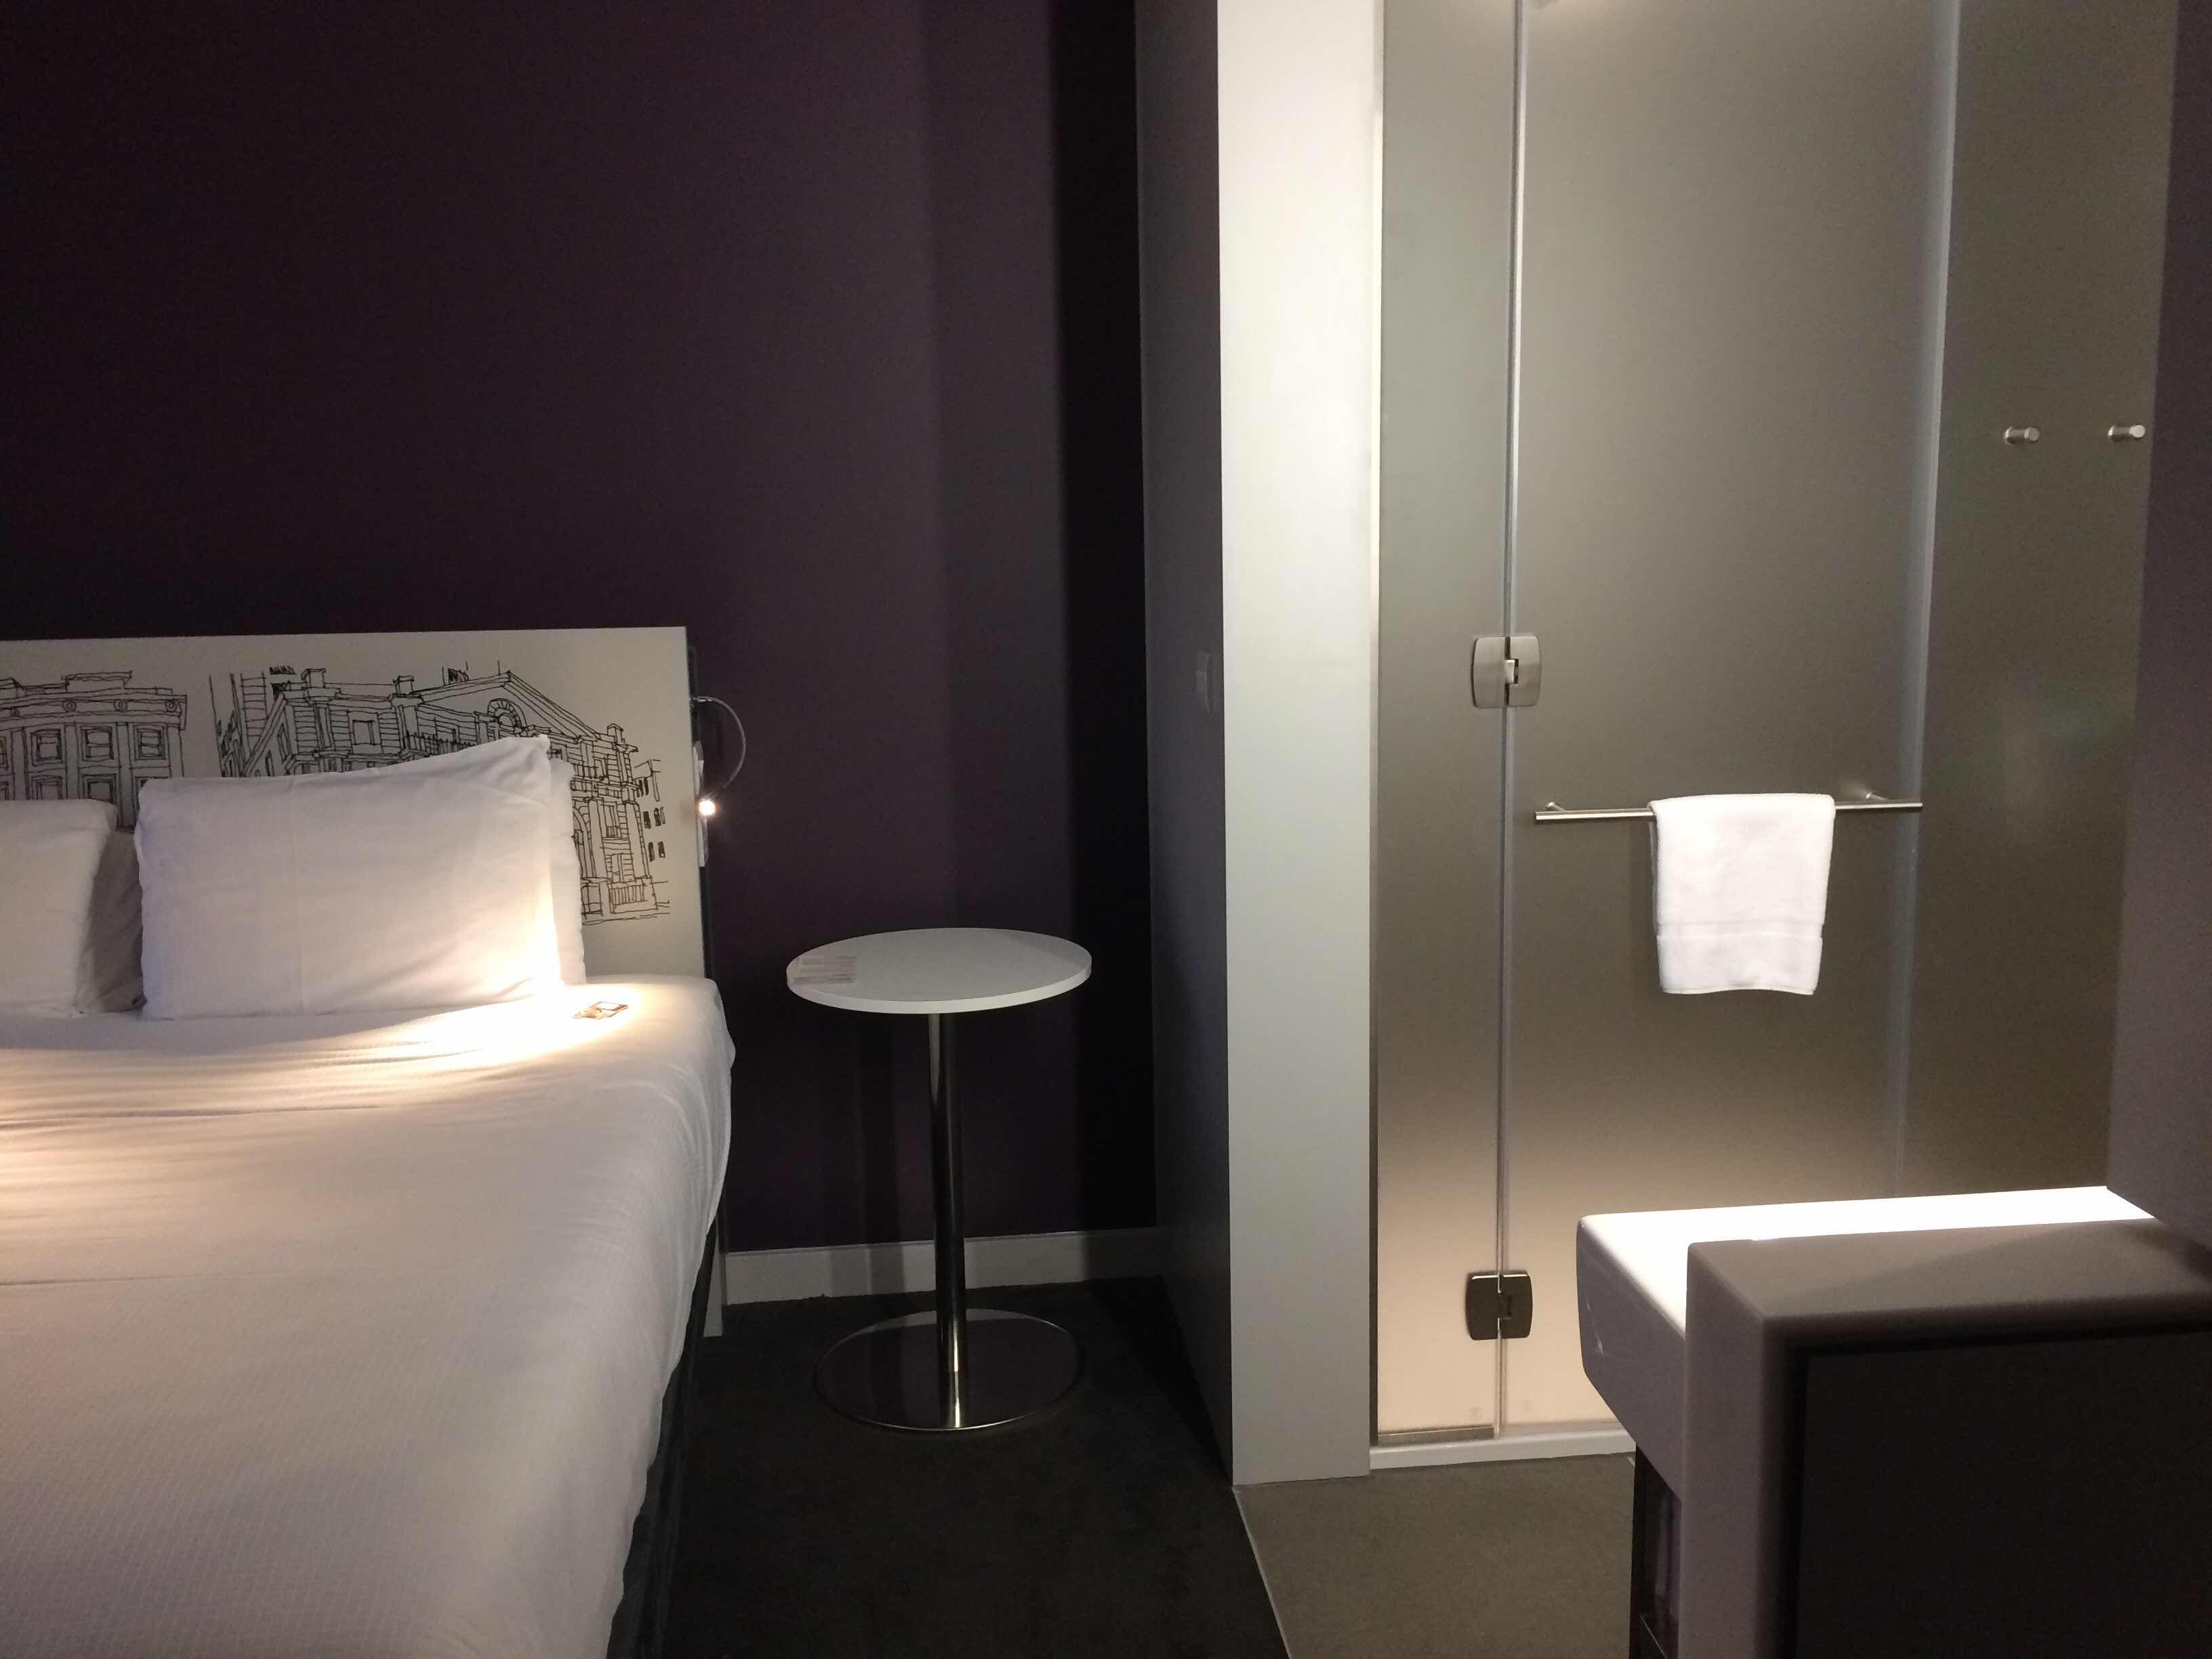
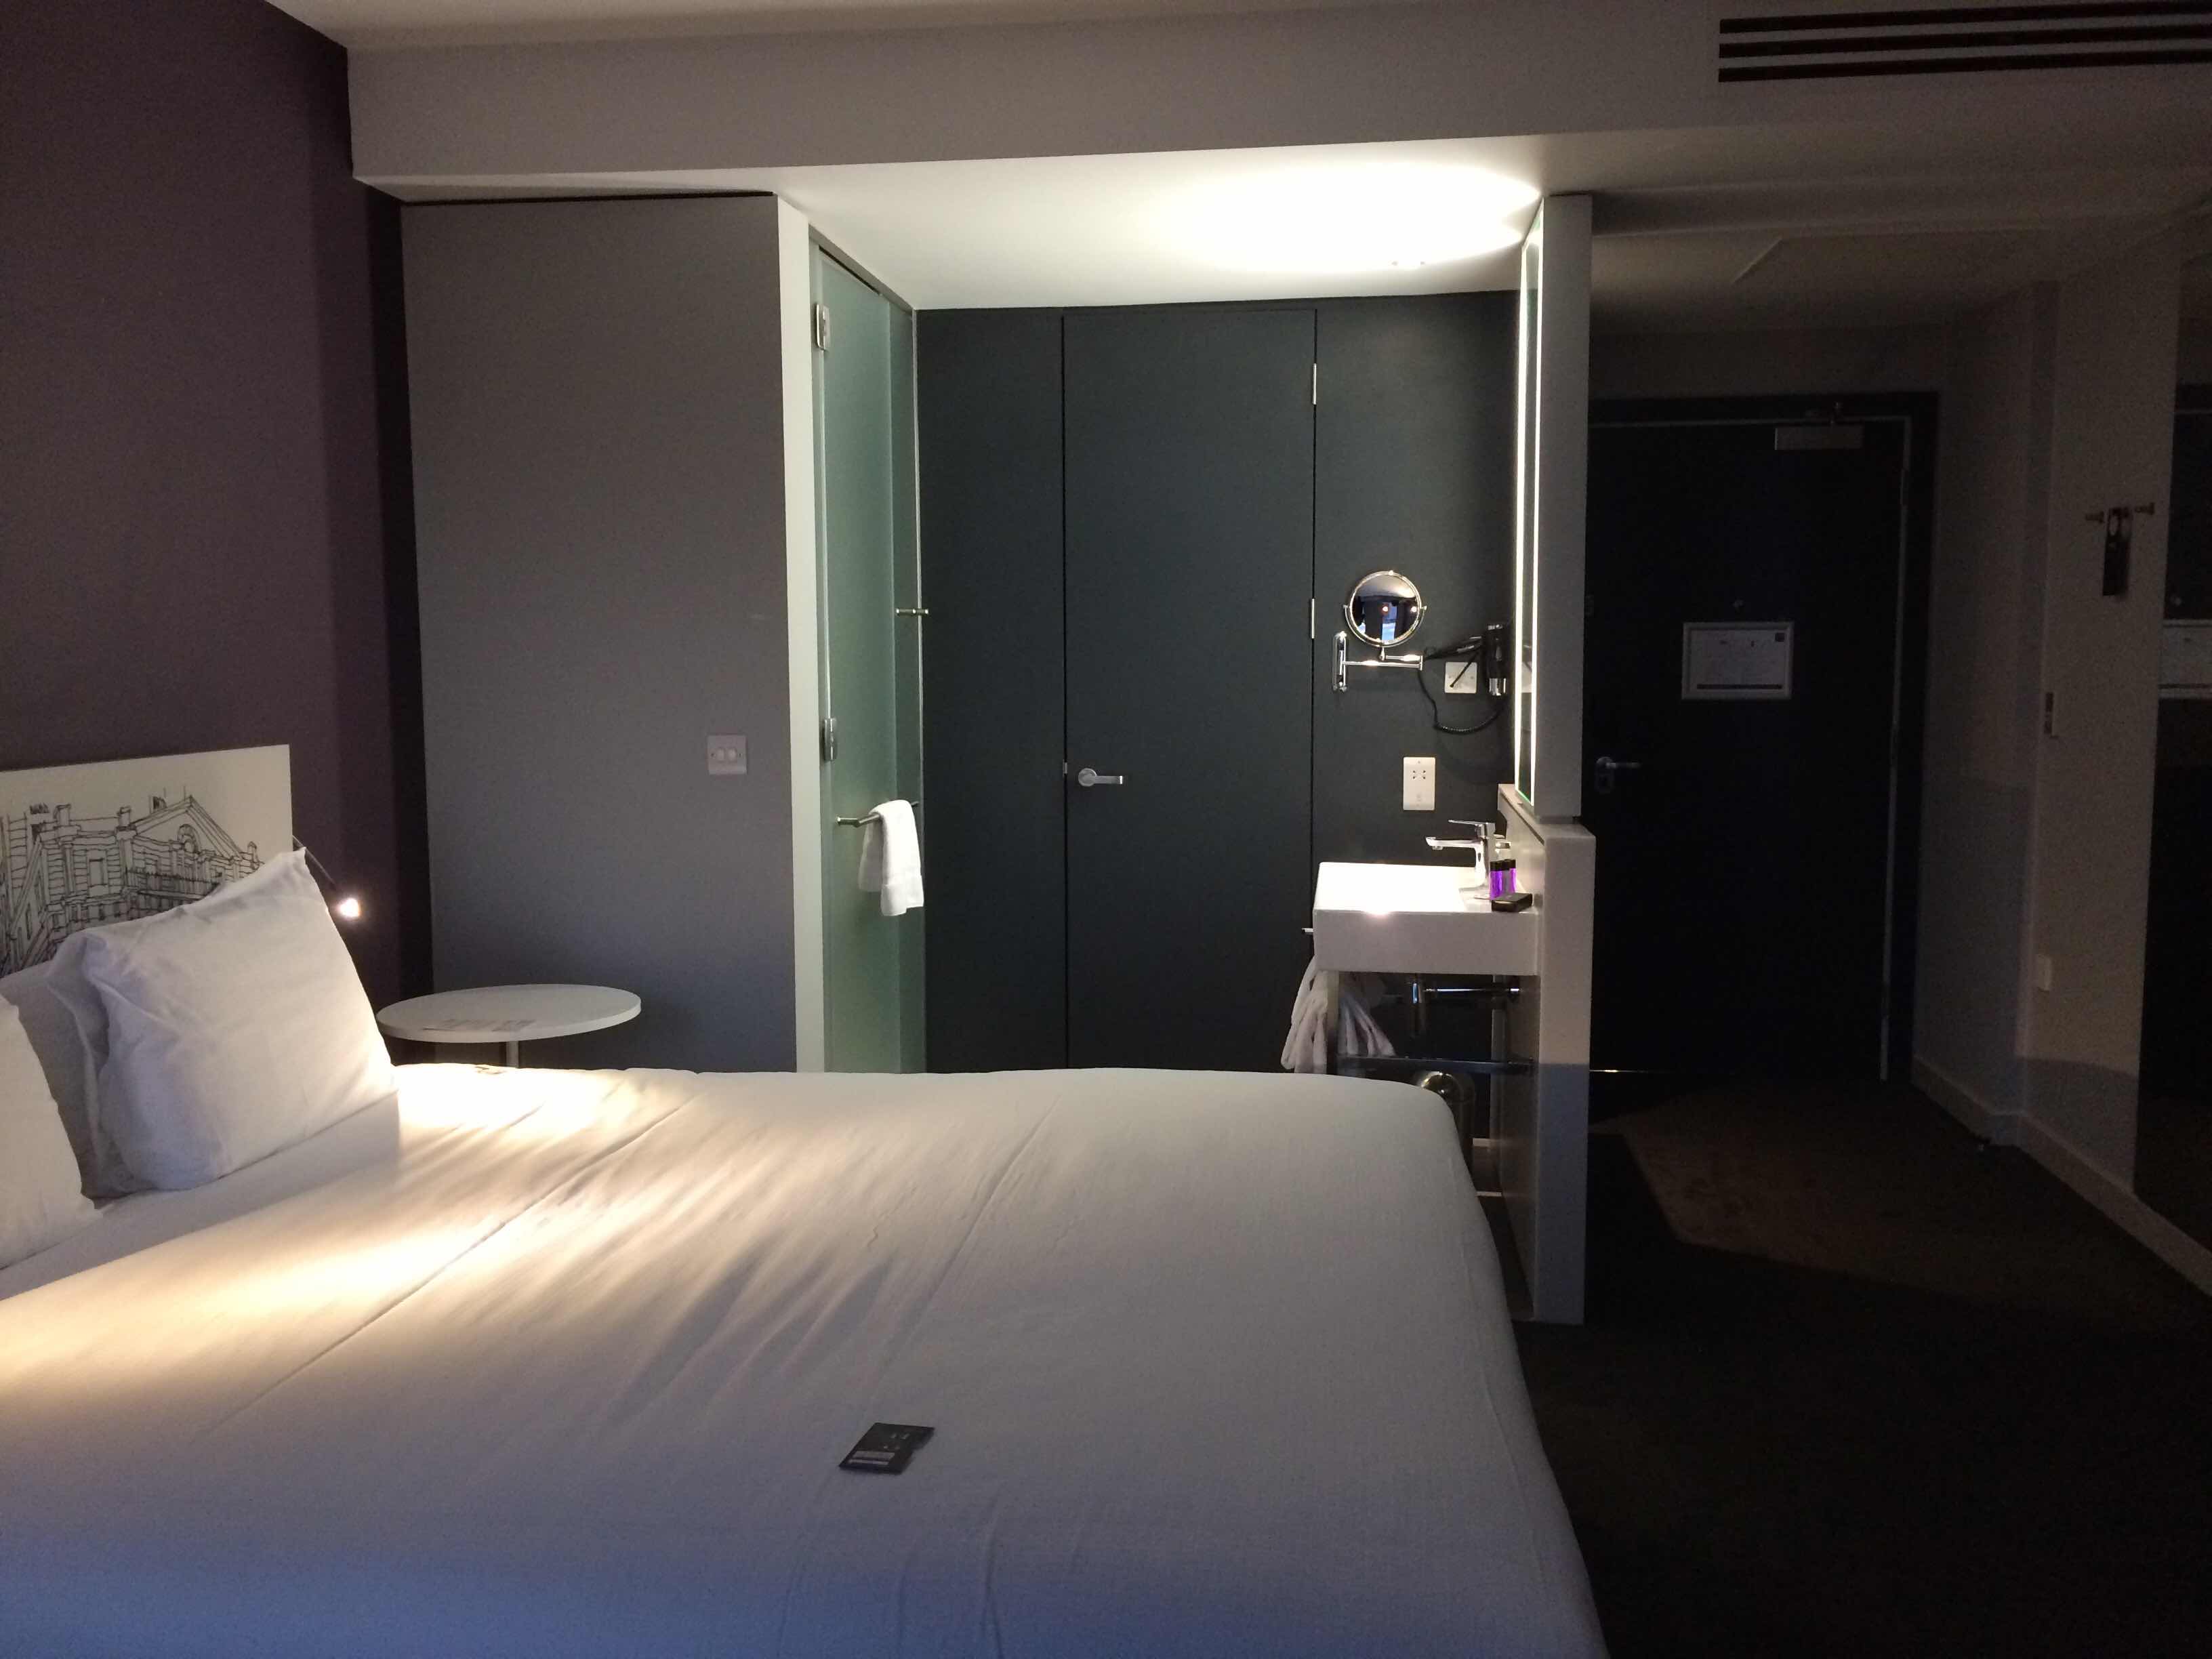
This was the best I could do. That white thing at the back is a Dyson fan. Why do you need a fan in an air conditioned room??? (The other side is a Tassimo coffee machine.)
Monday, 7 May 2018
Bibs-n-bobs
Sunday, 11 February 2018
Starting again
Saturday, 4 November 2017
My Turn
Tuesday, 10 October 2017
Slow Cooker Cuban Black Beans
- Combine all the ingredients in the slow cooker. Ensure that there is at least a 2.5cm (1 inch) covering of boiling water, more if your slow cooker lid doesn’t seal well.
- Put the lid on, set the cooker to high and cook for a minimum of 8 hours.
- If it gets a bit dry, add more boiling water (cold water will cause the pot to crack).
- If it turns out soupy, serve with lots of fresh bread. Otherwise, serve over rice.
- Slow cookers/crockpots are meant to have well-fitting lids that seal so you need less liquid. I’m on my third and, as far as I’m concerned, that’s a bit of a myth. The original crockpot has a rubber gasket around the lid and that does seal. For all the others, you’re dependent upon how well the lid fits the rim. My current one has certainly boiled dry.
- You need to cook this on high for the beans to go soft. (It should be possible to mush them with a spoon.) The first time I cooked this, I used “automatic”, which starts off as high and then swaps to low after 2 hours. We got home 12 hours after it started cooking and the beans were still hard.
- I can only find black beans, aka black turtle beans, in Waitrose.
- Where do you get the Liquid Smoke? Ocado sell a 148ml bottle of Stubbs Liquid Smoke for £1.89, so I based the cost on that. My bottle is years old.
Saturday, 2 September 2017
In which Lucky exacts his revenge
Friday, 11 August 2017
Frank
As you can see, he's a Skoda Fabia, like me. He's the Boy's car. He's been around a while - he knew the Toy. They were friends. (I never met Toy, but when I arrived, Frank made me feel welcome so I know he doesn't blame me for Toy's demise.)
Frank can be quite grumpy in the evenings. I think it's to do with all the motorway driving he does. When I do motorway driving, Pam and I just potter along, enjoying the speed, the wind in my vents and our latest podcast or the cricket or the football. (I love sport!). I'm not one of those cars who get competitive. You've seen them! The must-drive-faster-to-the-next-junction-than-anyone-else brigade, weaving in and out of innocent vehicles just to get 2 metres further ahead. (If it gets a bit snarly, I just think of it as an excuse that gives me time to listen to more cricket.)
Tuesday, 6 June 2017
Recipe Tuesday: Not quite Mr Julian's Dhal
Makes 7 portions. Total cost £1.97, assuming 5p for the cost of the bulk-bought spices
Ingredients
300g yellow split peas/Chana dhal. (67.5p)
1tsp turmeric
1tblsp garam marsala
1/2 tsp salt
Boiling water
The Tarka
1 tbsp. oil (3p)
1 onion sliced (12p)
100-150g mushrooms, sliced (25p)
1 large clove garlic, crushed (5p)
1 tsp ground chilli
2 cups frozen mixed veg (30p)
1 x 400g can chopped tomatoes (25p)
Optional: A handful of fresh spinach leaves or leftover rocket from a bag of salad leaves. (25p)
Optional: a tblsp or so of fresh coriander leaves, chopped
The Rice
1.5 cups basmati rice (12p)
3 cups boiling water
Method
1. Pour the dhal into a sieve and rinse well in fresh water. It doesn't need soaking..
2. Boil the kettle. Meanwhile, measure the dhal in a jug, make a note of the volume measurement and pour into a saucepan. Add twice as much boiling water. (The packet said to use 1 litre of water for 300g of dhal but that took considerable simmering to be absorbed..)
3. Stir in the turmeric, salt and the garam marsala, bring back to the boil and simmer until the dhal is soft and most of the liquid is absorbed. Stir regularly. The dhal will be cooked after 20-25 minutes but it takes a while until the liquid is almost gone. (Note: when it reaches the point where it starts to stick to the bottom of the pan, that’s when it’s ready.)
4. Meanwhile, make your Tarka:
a. Heat the oil in a frying pan and fry the onion until soft.
b. Add the mushrooms and continue frying until most of the water they make has evaporated. Then stir in the crushed garlic.
c. Have your frozen mixed veg ready on the side. Sprinkle the chilli over the contents of your frying pan and stir fry until the aroma rises. Stir in the frozen veg and fry until all their water has evaporated.
d. Add the tomatoes and fry until most of their liquid is gone, stirring occasionally. Stir in the spinach and coriander if using and cook until wilted. Switch off until the dhal is ready.
5. To make the rice using the absorption method:-
a. Boil the kettle again.
b. Measure out your rice and put in a saucepan with a tight fitting lid.
c. Cover with twice as much boiling water.
d. Bring back to the boil and boil for 2 minutes. (Use a timer.)
e. Switch off the heat. Cover the saucepan with its lid and leave to sit for at least 12 minutes.
f. It is now ready to serve.
6. When your dhal is ready, stir in the tarka. Taste and season as necessary. Serve over rice.
- As you can see from the photo, this is great for lunch boxes for work. It freezes well. Defrost and then zap for 2 minutes in the microwave or until piping hot.
- Instead of using frozen mixed veg, you can use any leftover cooked vegetables you have to hand. This works well with grilled peppers or roasted mix veg (e.g. Sliced onions, mushrooms, peppers, courgettes tossed in oil and herbs and roasted for half an hour or so in a hot oven).
Tuesday, 30 May 2017
Recipe Tuesday: Middle-Eastern Chicken Livers
- Put the kettle on to boil for your rice. Meanwhile, prep all your veg. When the kettle has boiled, measure your rice into a saucepan with a tight fitting lid, add twice as much volume of boiling water, cover and boil for 2 minutes. Switch off and leave undisturbed for 15 minutes.
- Combine the spices in a small ramekin dish. Stir in a tablespoon or two of water to form a thick paste.
- Heat the cooking fat in a deep frying pan. Fry the onion until it is soft and clear.
- Add the mushrooms. Fry, stirring occasionally, until the mushroom water is almost evaporated then add the garlic and the peppers, stirring occasionally until the peppers have softened.
- Decant the veggies into a bowl. Return the frying pan to the heat, add a little more oil if necessary. Turn the heat down. Spread the chicken livers over the hot surface. Fry until browned on all sides and the livers are firm. (Be gentle with the heat or they will toughen.)
- Return the veggies to the pan. Add your spices and fry until the aroma rises. Stir in the yoghurt, Worcestershire sauce and the carrots. Bring to a gentle simmer and simmer for five minutes, stirring occasionally.
- Scatter over the coriander and serve. Enjoy
- If you keep kosher, this works with soy-based non-dairy "yoghurt".
- If you keep kosher and kosher your livers with flame before cooking with them, skip step 5. Add your spices to the frying vegetables, then stir in the livers and proceed as per step 6 above.
- I use home made curry powder, aka "Curry Powder Number 1". In a small spice jar mix: 1 teaspoon of ground chilli, 2 teaspoons ground cumin, 2 teaspoons paprika, 1 teaspoon ground turmeric and the seeds from 6 green cardamom pods. Put the lid on tight and shake vigorously to blend. This is Curry Powder Number 1.
Tuesday, 23 May 2017
Recipe Tuesday: Pilchard Madras
- Combine spices 1 in a small ramekin dish. Add a tablespoon or two of water to form a thick paste and set aside. (This will help stop the spices burning.)
- Heat your oil in a deep saucepan or large, deep frying pan. Fry the onion until soft and glassy, stirring occasionally. Add the mushrooms and, when they have made water and most of their water has evaporated, add the crushed garlic. Continue frying for 1-2 more minutes.
- Make sure you have your tins of tomatoes and pilchards open. Stir Spice 1 into the onion mix and fry until the aroma rises.
- Quickly add your tins of tomatoes and pilchards, breaking up the pilchards with your wooden spoon/spatula as they land in the pan. Stir in well.
- Add your optional veggies. Bring to the boil, stirring all the time, then turn down to a simmer. Stir occasionally.
- At this point, put the kettle on to boil for the rice. When the kettle has boiled, measure out your rice and pour it into a saucepan with a tight-fitting lid. Cover the rice with twice the volume of boiling water. Bring the saucepan back to the boil, cover with the lid and boil for 2 minutes. Switch off the power and leave it to situndisturbed for 15 minutes, or until the rice is cooked and all the water is absorbed.
- Immediately after you have switched off the rice, stir Spices 2 into your curry. Simmer until the rice is done, stir in the lemon or lime juice and serve.
- To cook a regular meat Madras, add a step between step 1 and step 1 above. Heat 1 tablespoon of oil/cooking fat and brown 1lb/500g of cubed beef/lamb/chicken/pork. Remove the browned meat to a plate, then proceed with steps 2, 3 and 4, returning the meat to the pan at step 4. In step 5, simmer the meat mixture for an hour or until it is cooked and can be cut with a fork, stirring occasionally and adding extra water if it gets too dry. Once the meat is tender, proceed with the remainder of the recipe
- I buy my spices in 500g bags from the Asian section of the supermarket or from Asian shops like Wing Yip and store them in old Douwe Egberts coffee jars. This is the cheapest way to buy them. Given how long they last, etc, I reckon 20p is a fair assessment of the cost of all the spices listed.
- When you are feeling flush, buy big bunches of fresh fenugreek and coriander. Wash them, chop them and freeze them loosely packed into the largest ziplock bags you can find. (You want to be able to break up the herbs when frozen.). When you need fresh herbs to finish off a curry, add a spoonful/lump or two straight from the freezer.
- All the prices above are based on the cheapest option from Tesco. Yes, you can get tins of chopped tomatoes for 25p, but only when they're on a 4 for £1 offer, when I usually stock up.
Saturday, 22 April 2017
New Blogger App
Tuesday, 18 April 2017
Recipe Tuesday: Bread and Cheese Pudding
Let me spell it out to you. Since your average recipe makes four portions of a meal, that means each recipe actually cost £4. Not £1.
It was a book of £4 dinners, not £1 dinners. On the basis of this book, any fool can make a beef chilli, using supermarket standard ingredients and have spent less than £1 per portion. Hell, I can do it using beef from my (expensive) Kosher butcher and have cash left over. Talk about misleading marketing! Some poor person, who is struggling to make ends meet, will buy that book based on the title and the fact that it was mentioned in MSE's newsletter. Instead of getting something that will actually help them save money, they'll just get a cookbook full of all the recipes that don't involve roast dinners.
So in the spirt of "beat them at their own game", I have decided to publish a series of very cheap-to-cook recipes, tagging them as <£2dinners. Here is the first. The cost of each item is in brackets after its listing. All items are supermarket cheapest, "value" own-brand.
Bread and Cheese Pudding.
Serves 4. Total cost £1.89
Ingredients
Four slices of bread, cut in half diagonally (5p)
325g can sweet corn kernels, drained (35p)
200g can tuna, drained (65p)
2 eggs (12p each = 24p)
250ml milk (25p)
75g mature cheddar cheese, grated (35p)
Method
- Preheat oven to 200C.
- Layer the bread, tuna and sweet corn in a lasagne dish, so that the bread points stick up and each slice of bread has some tuna and corn between it and the next one.
- Scatter over the grated cheese.
- In a measuring jug, combine the eggs and the milk and whisk until well combined. Add a grind or two of black pepper.
- Pour the egg mixture over the bread.
- Bake for 30-40 minutes, or until the cheese is melted and the egg mixture has set.
Yummy!
Monday, 10 April 2017
I am a LUCKY car!
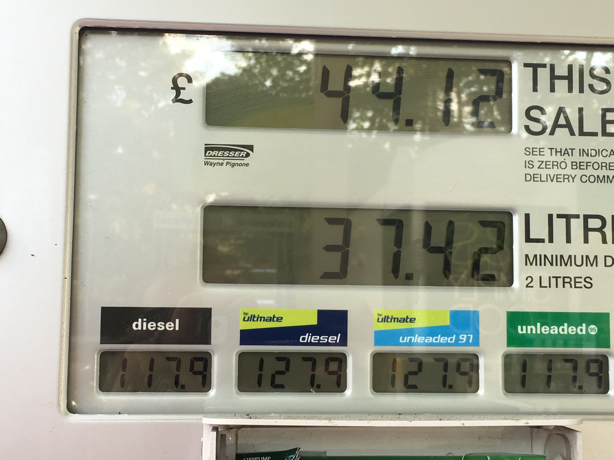
Anyway, I just wanted to share why I'm a Lucky car. It's not just that Pam calls me "Lucky" (a play on the first two digits of my registration number), or that she takes good care of me - she even pats my "nose" (the Skoda badge on the top of my grill) - it's because of this: