Showing posts with label baking. Show all posts

Tuesday, 29 October 2024

Recipe Tuesday - Apple Cake

Years ago now, a friend brought several bagfuls of apples into work to give away.  Gratefully, I took home a bag, stewed them, pressure canned them for 20 minutes, and later turned them into Apple Cake.  Last month, when another friend gave me apples from their tree, I was quite surprised to discover that I’d never written about the canning process nor had I written up the recipe!

This time around, I made two 16oz jars of stewed apple and then went searching for my recipe.   Since I am by no means an expert, I’m not going to go into details about pressure canning.  (My reference book for that is Farmhouse Kitchen, by Audrey Ellis, which was first published in 1973.).  However, it is time I shared the cake recipe with you.  

Note:  Because a 16oz jar contains enough for two cakes, all the quantities below are doubled up.  The quantities in brackets will make a single cake.

Apple Cake

Ingredients

1 cup oil  (1/2 cup)
2 cups stewed apple (1 cup)
2 cups castor sugar (1 cup)
4 eggs (2 eggs)
4 cups flour (2 cups)
4 tsp baking powder (2 teaspoons = "2 tsp")
4 tsp grouncinnamon (2 tsp)

Method

Preheat oven to 180C.
  1. Line your cake tins.  I use 2lb loaf pans.
  2. In the food processor, combine the dry ingredients.  Put the lid on and whiz for a few seconds to distribute the baking powder, sugar and cinnamon. Add the oil, stewed apple and eggs.  Process until smooth.
  3. Distribute the mixture evenly between cake tins.  Bake for approximately 1 hour in the hot oven.
  4. Remove from cake tins and cool on a wire rack.


    Yum!!

    - Pam

Tuesday, 30 July 2024

Recipe Tuesday - Blueberry Muffins

A few years ago, at the bottom of the garden, we planted 3 blueberry bushes.  This year, they’ve come up trumps!  Yesterday, DH and I harvested 1.6kg of ripe blueberries and there are at least as many still on the bushes.  While I am hoping to freeze at least a kilogram, this morning I decided to make a double batch of blueberry muffins.


(The above photo was taken after I’d removed 250g for the muffins.)

After flipping through some recipe books and the BBC Good Food website, I decided to botch together a recipe.  (Why?  Because most of the ones I looked at required the addition of yoghurt or nuts or bananas.). Anyway, it worked!  This is my recipe.  I made 24 - the doubled quantities are shown in brackets.


Blueberry Muffins

Makes 12 (or 24)

Ingredients

1/2 cup vanilla sugar*. (1 cup)
2 cups plain/all purpose flour (4 cups)
1 tablespoon baking powder (2 tablespoons)
1/2 teaspoon salt (1 teaspoon)
1 cup milk (2 cups)
1/4 cup oil (1/2 cup)
1 egg, beaten (2 eggs)
1 teaspoon vanilla extract (2 teaspoons)
125g/4oz blueberries (250g/8oz)
1 tablespoon plain flour

Method

  1. Preheat oven to 200C (425F).
  2. Line the cups of your muffin pan with either silicone or paper liners.
  3. In a food processor or mixer, combine the first 4 ingredients and give them a quick whiz to distribute the salt and baking powder.
  4. Add the milk, the oil, the egg and the vanilla extract.  Blend until combined.
  5. Place all but 12 (24) blueberries into a bowl.  Sprinkle over the flour and stir with your fingers until all is combined.+
  6. Gently stir the flour coated blueberries into the muffin mix.
  7. Fill each lined muffin cup 3/4 full, topping them up as evenly as possible if there is muffin mixture left.
  8. Top each muffin with one of the saved blueberries.
  9. Bake in your preheated oven for 20-25 minutes.
  10. Remove from oven and decant onto a cake rack to cool.
Notes

* Vanilla sugar is easy to make at home.  Just bury a vanilla pod in a jar of castor sugar and leave it for at least 3 weeks before first use.  Replenish the sugar each time you use it.  The vanilla pod will continue to give off flavour for years.
+ Dredging your berries with flour will stop them sinking to the bottom of the muffins.


Enjoy!!!


Tuesday, 27 April 2021

Pumpkin Bread

I keep telling myself that I must write down this recipe before I forget it or lose it, so here goes...

When we visited Miami in 2006, one of the things I brought home in my luggage  was a packet of Williams-Sonoma cake mix for “Pumpkin Bread”.  I made it; it was scrumptious, and for several years afterwards I tried to find a recipe to duplicate it.  The only recipe I remember  had “pumpkin pie spice mix” listed as an ingredient.  Fast forward to our next trip to Miami in 2014 and, this time, I fly back to the UK with several jars of “pumpkin pie spice”.


Do you think that I could find the recipe mentioned earlier?  No.  These jars remained unopened, in the pantry, for years.  Fast forward to the end of last year when, in a fit of inspiration, I decided to search the internet again for a pumpkin bread recipe.  On someone’s blog, I found a picture of a recipe, cut from an ancient magazine.  Oddly, they didn’t give directions, just the photo.


(Sadly, while I saved a copy of the photo, I didn’t make a note of whose blog or I’d credit them.)

We don’t get canned pumpkin here, but a month or two ago, I bought a couple of large butternut squash in L!dl and decided to have a go making it with them.  After three attempts, I think I’ve nailed it.  I’ve also swapped in oil for the butter.  You need to bake the pumpkin/squash the day before you make the loaves.  It freezes well, so don’t be put off by having to make two loaves:

Pumpkin Bread (makes 2 loaves)

Ingredients

1 medium sized butternut squash
2 cups plain flour
1/2 teaspoon baking powder
1/2 teaspoon salt
1 teaspoon bicarbonate of soda (aka baking soda)
1/2 cup + 1 tablespoon vegetable oil
2 cups castor sugar
2 eggs
Spices
Either use 
1 teaspoon ground cloves, 1 teaspoon ground cinnamon and 1 teaspoon ground nutmeg
or use:
1 tablespoon Pumpkin Pie Spice

Method
  1. The day before, prepare your butternut squash:-
    • Preheat the oven to 200C.
    • Cut it in half lengthwise.  DO NOT PEEL.
    • Scoop out the seeds and discard them.
    • Place the squash, cut side down, onto a baking tray and bake for an hour.
    • Allow to cool before removing from the tray.
    • Once cold, use a spoon to scoop out the pulp.  Deposit it into a bowl and weigh it.  The original recipe requires a 440g can, but I’ve made it with 450g, 350g and with 530g of pulp.  All three versions have been successful.
  2. Preheat the oven to 180C.  Line two loaf pans with baking paper..
  3. In a food processor or blender, combine the sugar, the oil and the eggs.  Blend.
  4. Add the pumpkin pulp and process until combined.  (It may be a bit grainy.  That’s OK.)
  5. Finally, add the remaining ingredients and process until smooth.
  6. Divide the mixture evenly between two lined loaf pans and bake for 65-75 minutes, or until a skewer comes out clean.
  7. Once cooked, remove the two loaves from the loaf pans and cool on a cake rack.
  8. If you are freezing a loaf, leave it in its baking paper, slide it into a freezer bag, seal and freeze. 


Enjoy!


- Pam


.

Tuesday, 30 June 2020

Recipe Tuesday: Carrot Cake

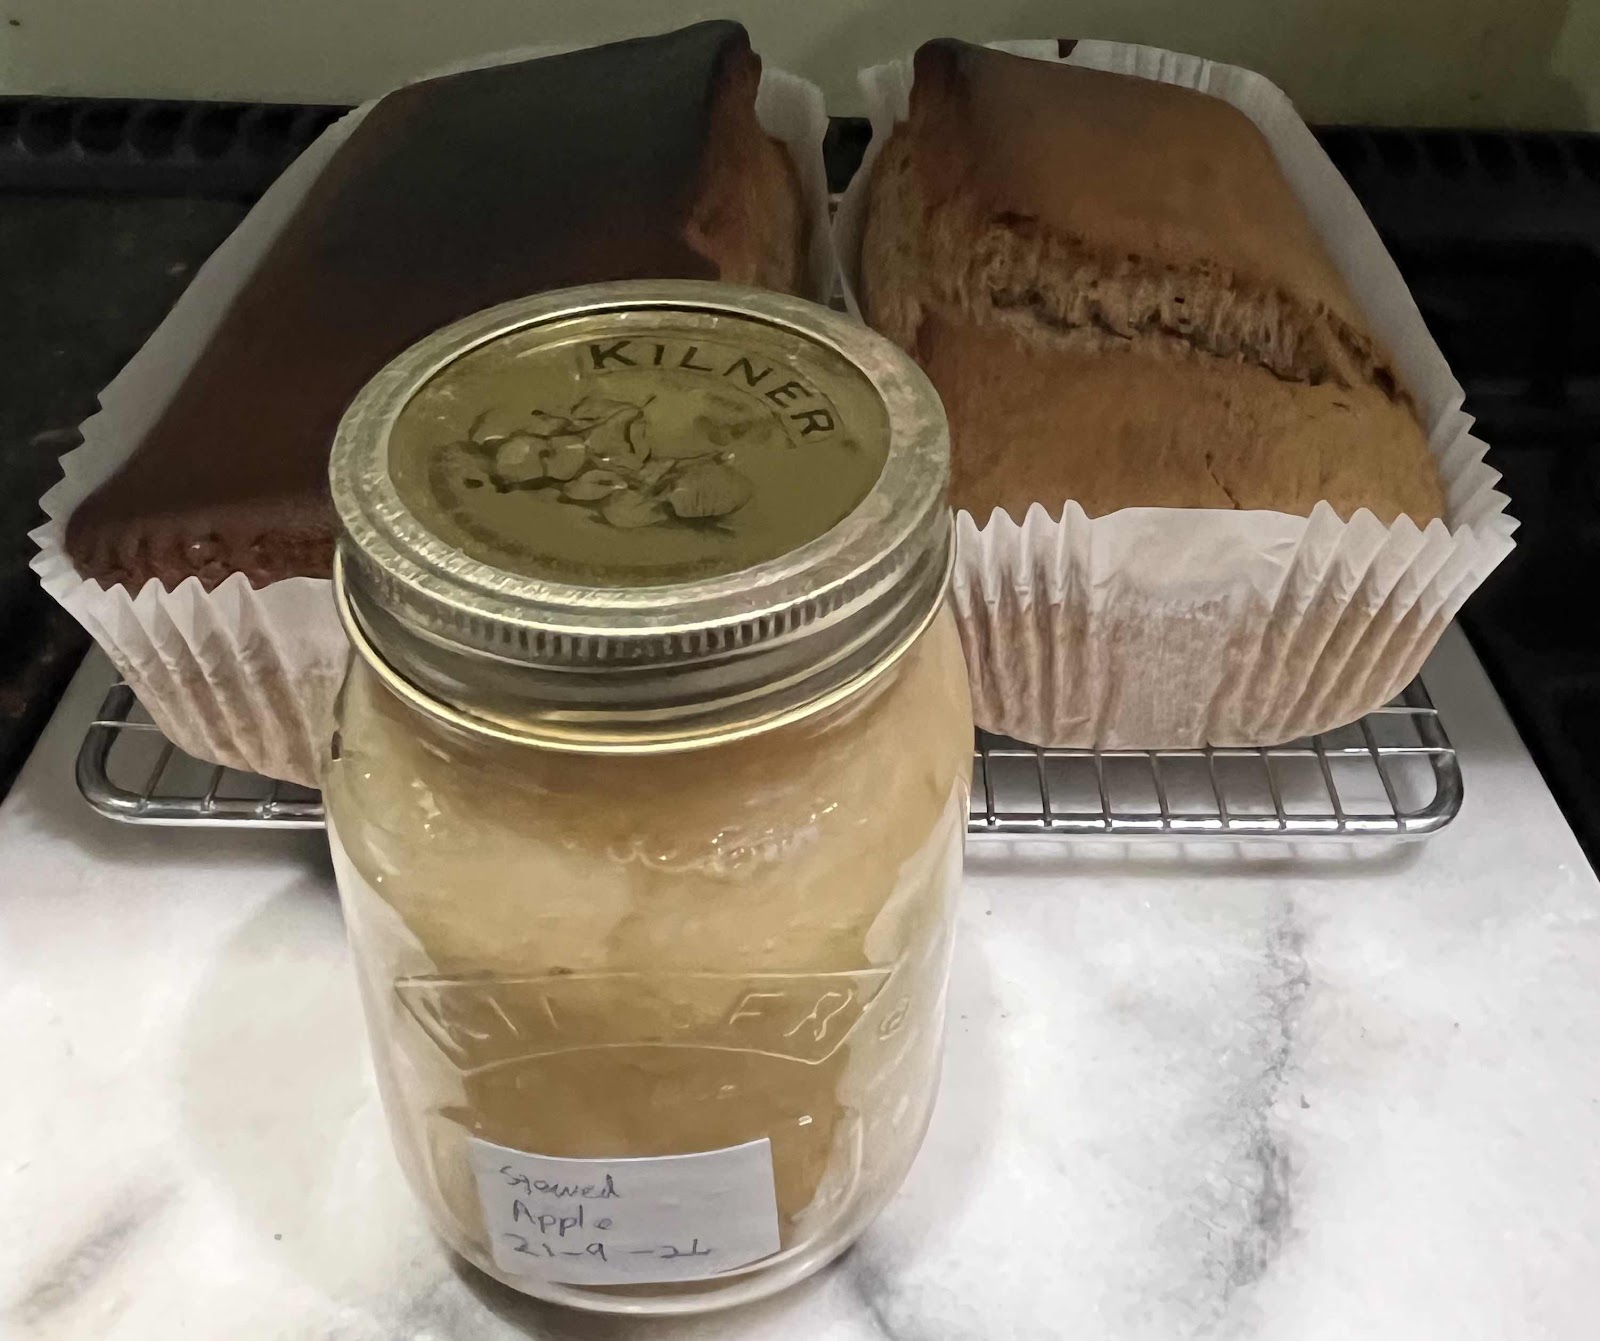
It’s cake, Jim but not as we know it....

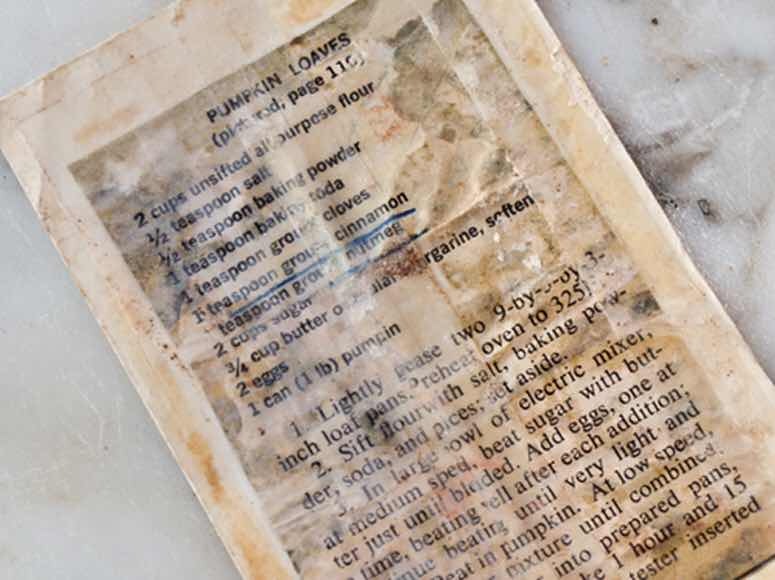
If there is one story about me in Lockdown, it’s that I seem to be baking cakes, tweaking a lot of recipes to get what I want.  Well, this is another one of those recipes.  You may remember back to April, when I talked about all the mutant carrots we’d unearthed?  At the time, I went looking for my carrot cake recipe card.  I’d made it several times before - but not recently - and it was a really great cake.  Do you think I could find it?  It wasn’t in the binder together with the rest of the set.  It wasn’t tucked inside any of the recipe books...  Thinking back, the last time I remember seeing it was in the old kitchen, pre 2013 makeover, when it was on the top of the bookcase that was tucked in beside the fridge.  All I can tell you is that it was for a carrot cake made with oil not butter and had a cream cheese frosting.

I never did find the recipe and, if 2012 was the last time I’d used it, there was no hope that I’d remember the quantities.  Eventually, I turned to Google.  
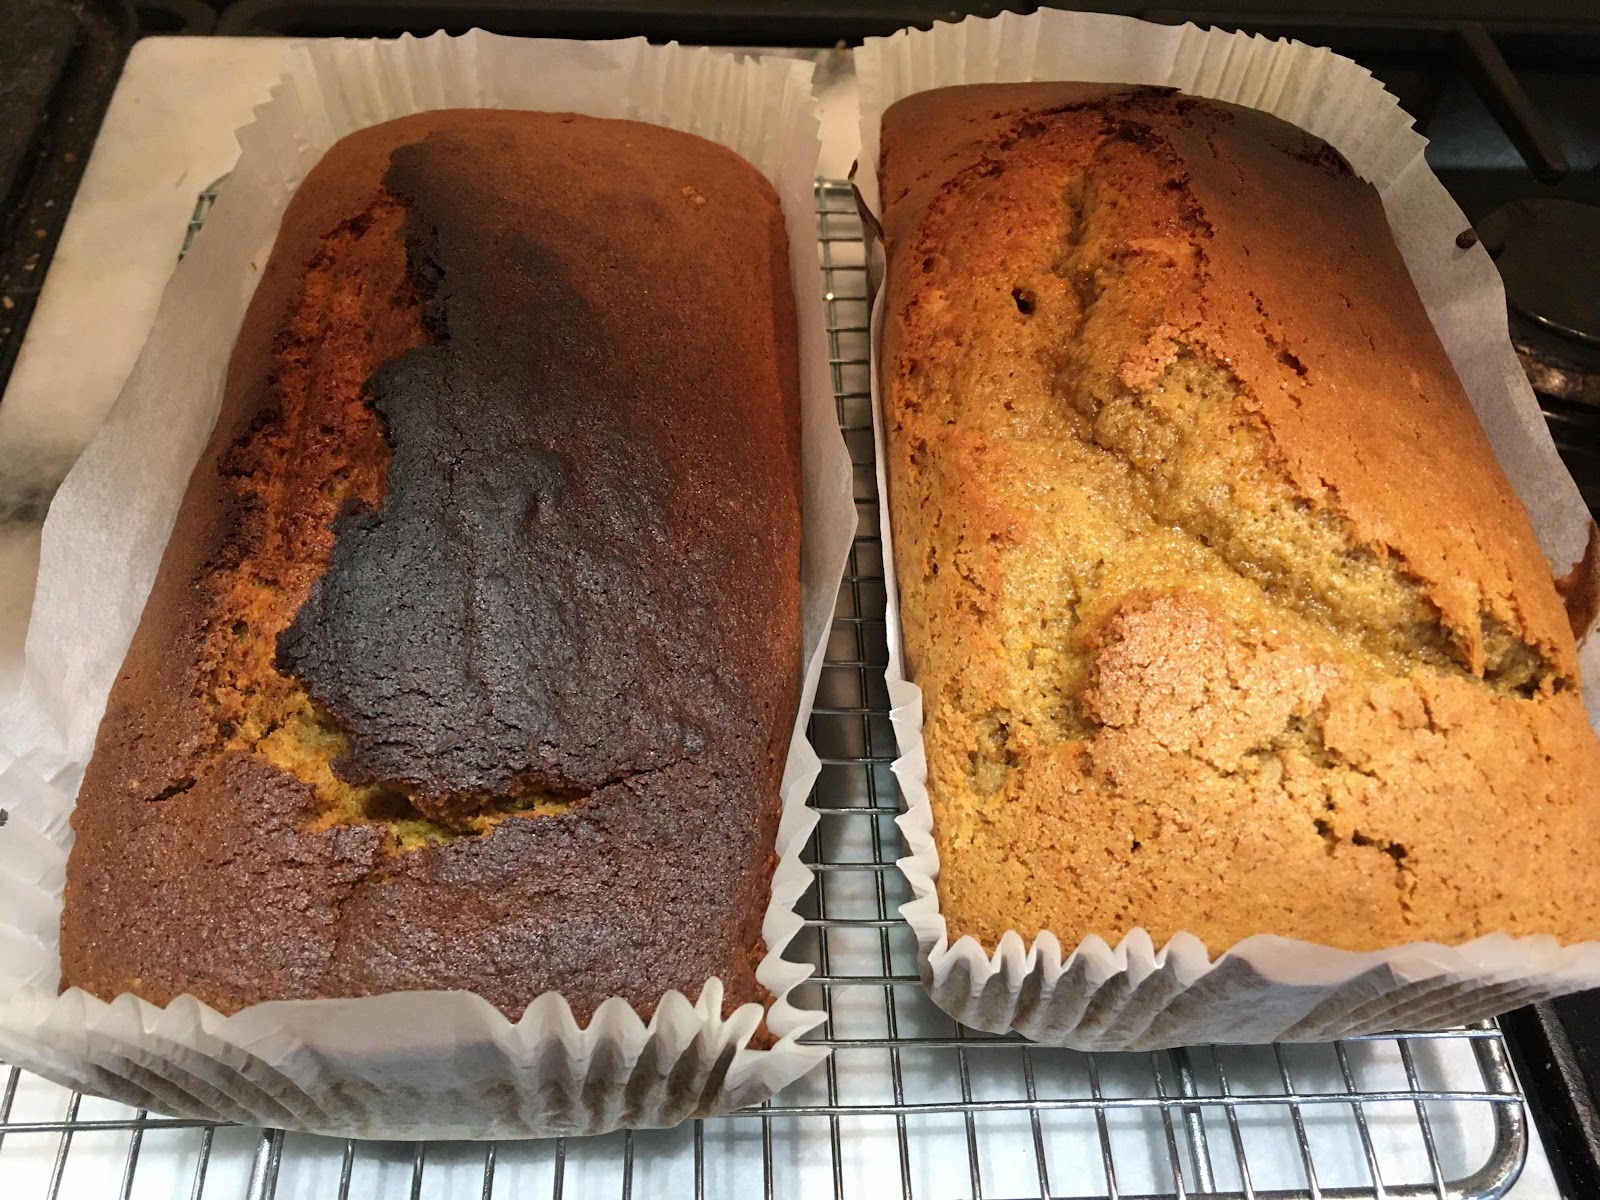
This recipe from Rachel Allen turned out to be the closest to the one I remember, but the first time I made it, I combined the carrots and sugar in the food processor, turned around to measure out the other ingredients and turned back to find the carrots swimming in water.   The sugar either dehydrated the carrots or sucked moisture out of the air!  The mixture came out very wet, resulting in a cake that was more like fudge.  The next time, I left the sugar until the end and made a rather dry carrot cake.  A couple more experiments later, I’m happy with the results, so thought I’d share them with you.

I’ve changed a couple of other things, too.  Decreased the oil slightly, since I found the original quantity made the cake greasy.  Also, I tend to use sunflower seeds whenever a cake requires nuts. They’re cheaper and I always have some in stock.  (I add a tablespoon of sunflower seeds to my breakfast each morning for additional protein.). On the oil front, I use rapeseed oil, which is a) cheap and b) monounsaturated like olive oil.  Flour, in this house, is always Atta Flour aka Chapatti flour, which is a strong, light wholemeal, plain flour.  This recipe doubles up well or can be used to make carrot cake muffins (at step 5, divide the mixture between 12, lined, muffin pans and bake for 25 minutes at 180C).

Carrot Cake - makes 1

Ingredients

125ml/0.5 cup vegetable oil
2 eggs
300g carrots, cut into chunks
200g soft, dark muscovardo sugar
75g sunflower seeds or chopped walnuts
100g raisins or sultanas
180g plain flour + 1 teaspoon baking powder (or use 180g self raising flour)
1/2 teaspoon sodium bicarbonate
1 teaspoon cinnamon 
1/2 teaspoon mixed spice

Method

  1. Preheat the oven to 180C and line a loaf pan with non-stick baking parchment.
  2. In the food processor, combine the oil, eggs and carrots.  Process until the carrot is chopped up small.
  3. Meanwhile, measure out all your remaining ingredients.  (You can put them all into the one bowl, if you want.)
  4. Add all the other ingredients, in one go, to the food processor and process until combined.  You should have a slightly lumpy batter.
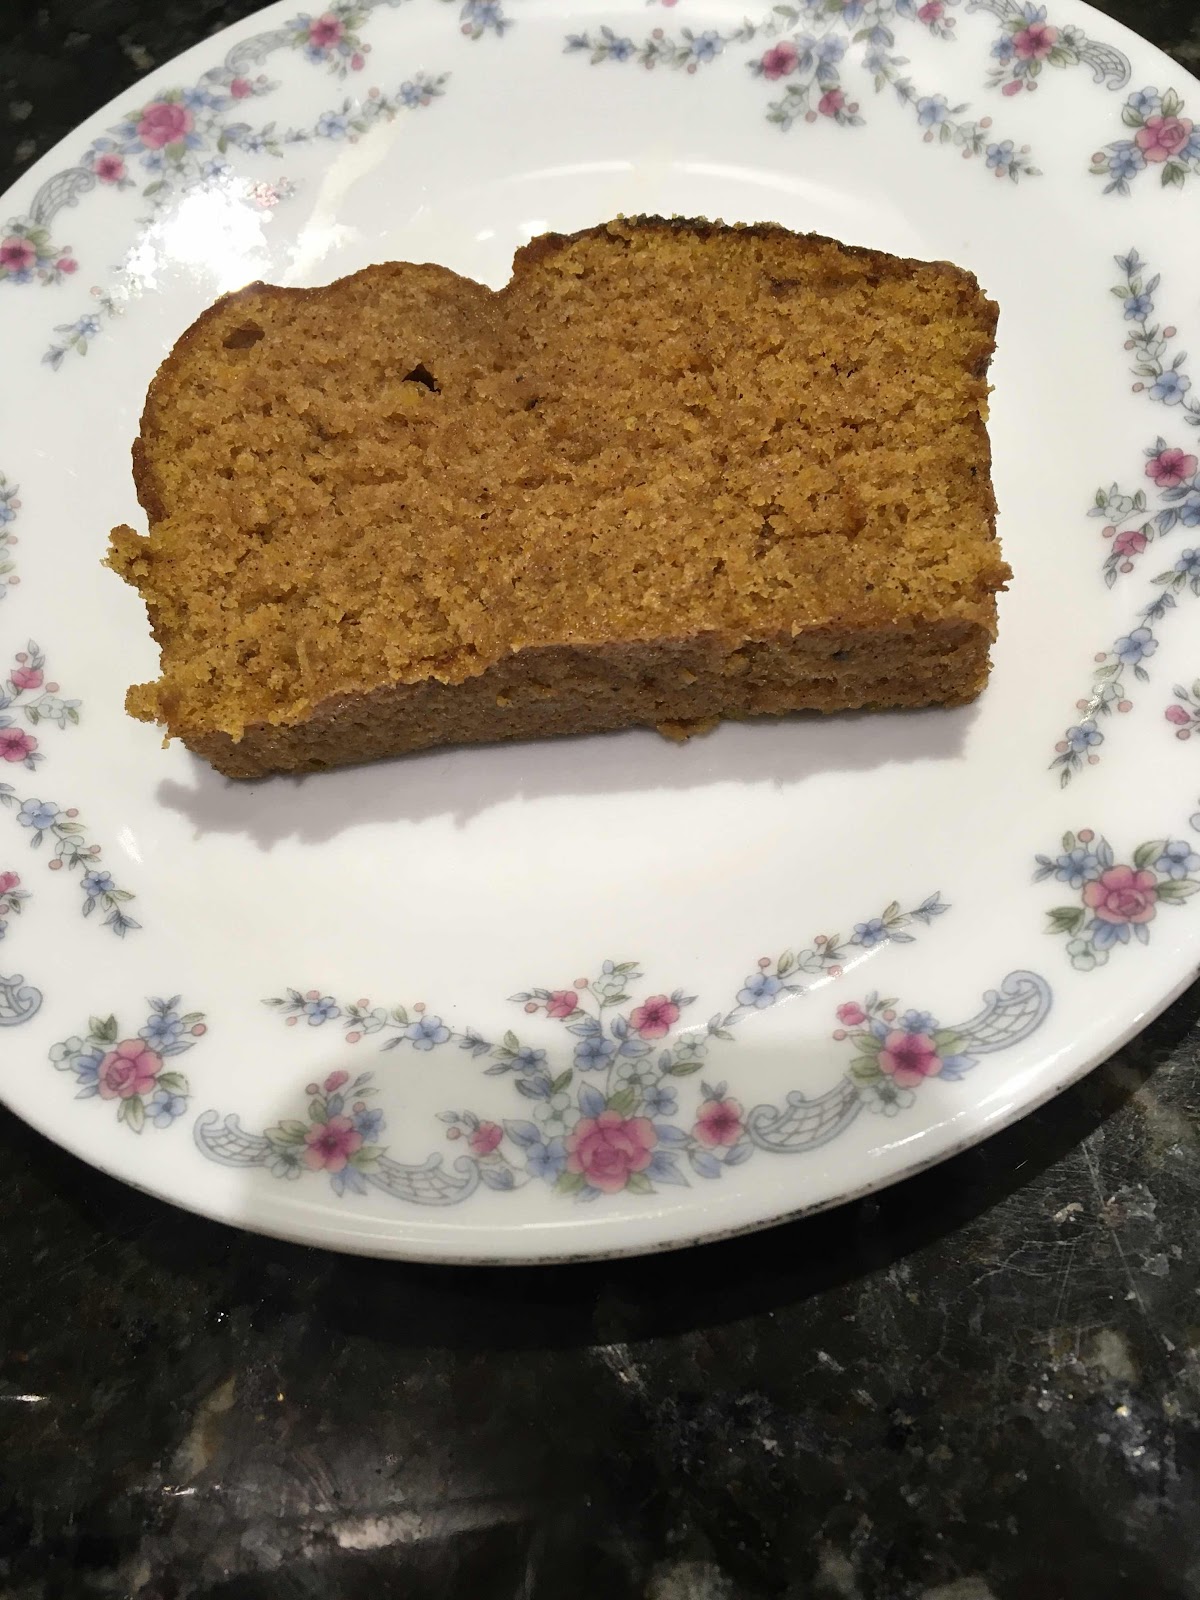
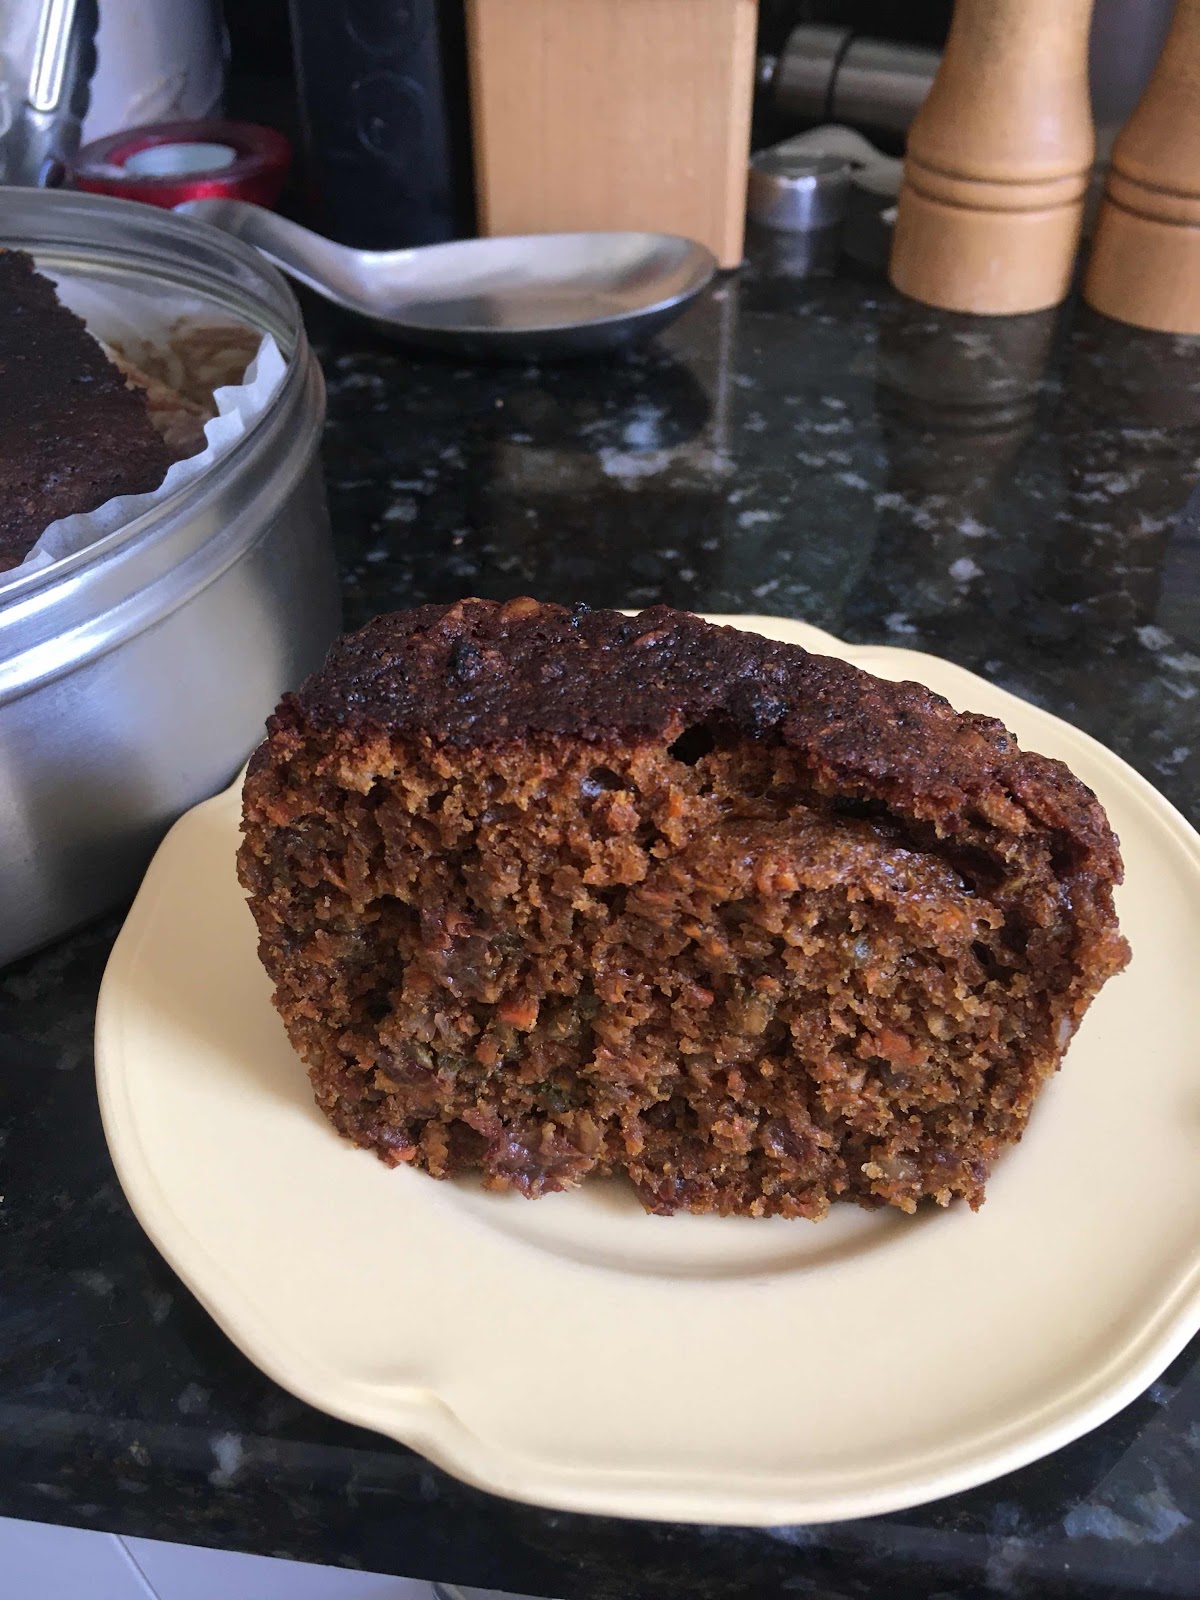
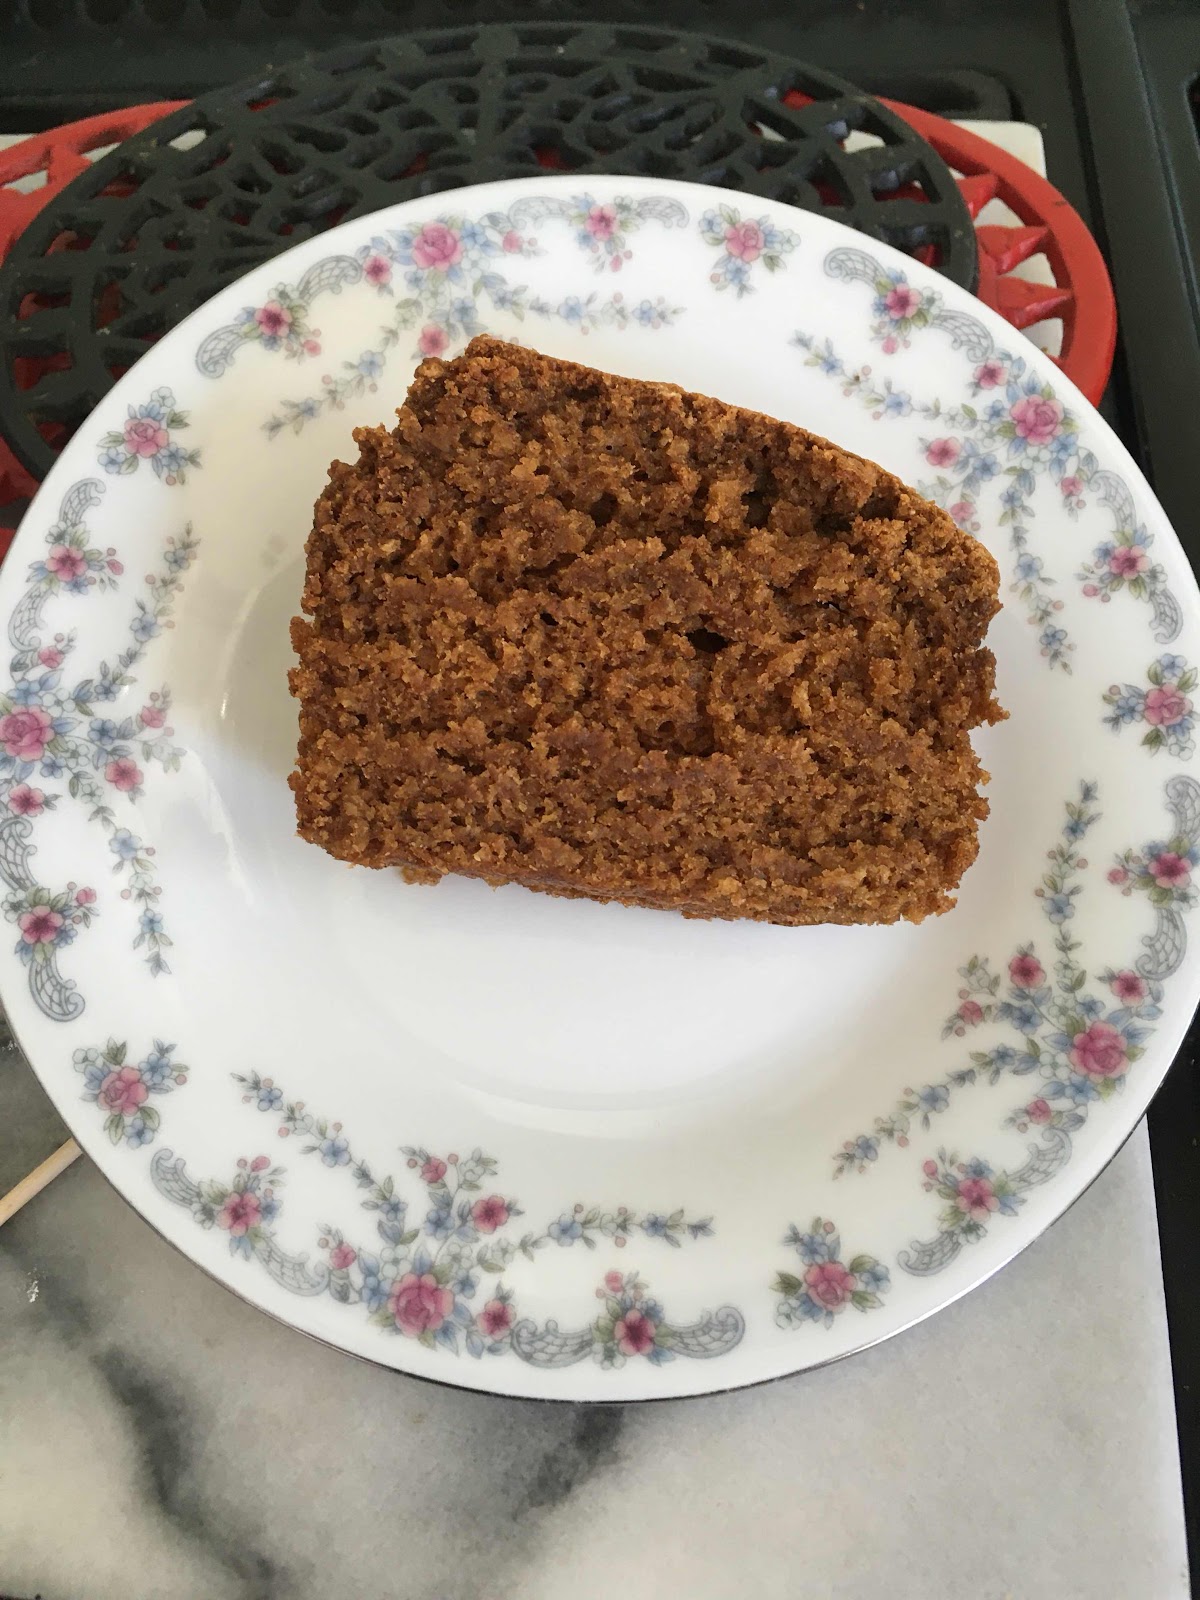
  5. Pour into your lined loaf pan and bake at 180c for 50-60 minutes or until a skewer comes out clean. 
  6. Once cooked, remove from the loaf pan and cool on a cake rack.  When cool, you can ice it if you want. (I don’t.  I’m not a huge fan of icing.)


Enjoy!

- Pip


Saturday, 30 May 2020

Not Quite Gingerbread

It feels as if I have baked a cake every weekend recently.   Sometimes it’s my Banana Bread, sometimes it’s been Lemon Drizzle Cake and when we were overloaded with carrots, it was Carrot Cake.  (I’ll share those two recipes later - I’m still working to perfect my carrot cake, having lost my original, reliable recipe.) 

Today, I baked the closest recipe I’ve got to gingerbread.  This is inspired by a war time recipe for Fat Free Gingerbread that was posted on MSE.  I made the original and found it very tough and chewy.  Of course, it may have been different if I’d used it for gingerbread men, but in a loaf cake, it didn’t work.  The spicing, however, was amazing.  I’ve experimented a bit and this is the result.  While I’ve always made it using my food processor, uou can use a stand mixer, a hand held electric mixer or mix by hand in a large bowl with a whisk or wooden spoon. The recipe doubles up well.  (I normally bake two at a time and and freeze the second.)


Not Quite Gingerbread - makes 1 loaf cake or 12 muffins

Ingredients

1 cup of milk
1 teaspoon white wine or cider vinegar
1 egg
150g/1 cup soft, dark, muscovardo sugar
1/2 cup rapeseed oil
1 cup plain flour
1 cup rolled oats
1 teaspoon baking powder
1/2 teaspoon bicarbonate soda
1/2 teaspoon salt
2 teaspoons ground ginger
2 teaspoons mixed spice

Method

  1. In the food processor, combine the milk with the vinegar.  It should curdle.  Leave it to rest for 5 minutes while you measure out the rest of your ingredients.  Put the flour and oats in one container, the sugar in another and the baking powder, bicarb soda, salt and spices in a third.
  2. Preheat the oven to 180C.  Line a loaf pan or muffin tins with paper liners.
  3. After 5 minutes, combine the sugar, oil and egg with the milk.  Whiz for at least 10 seconds.
  4. Add the baking powder/spice mixture and whiz until there are no visible lumps.
  5. Finally, pour in the flour and oats.  Process until all is combined.  The mixture will appear a bit grainy from the oats and that is perfectly OK.  The mixture will be runny.
  6. If making a loaf cake, pour your mixture into your lined loaf pan and bake at 180C for 55 minutes.
  7. If making muffins, use a quarter cup measure to ladle the mixture into individual muffin cases and bake 180C for 20-25 minutes.  One muffin case should equal one filled quarter cup measure.  If you have any mixture left over, distribute it evenly between the cases.
  8. Once cooked, remove your  cake or muffins from their tin and cool on a rack.  Don’t put in a cake tin until cold.
  9. If you are going to freeze the cake, ensure it is cold, keep the liner on and place in a bag or wrap in cling film before freezing.   Once defrosted, remove the paper liner before placing in your cake tin.  The liner will be soggy and a damp cake goes mouldy faster.
Enjoy!

- Pip

Saturday, 28 March 2020

Pizza!

Over the years, I think that I may have mentioned our annual attempt at growing tomatoes.  We don’t grow a lot, just two or three plants.  Last year, we had a bumper crop so I made several tubs of tomato sauce and shoved them in the freezer.  We used one tub last weekend over pasta, and it was lush!  It was so tasty that I immediately started planning to make pizza for dinner on Friday night.  Since my pizza recipe is straightforward, I thought I’d share it with you.

At it’s most basic, this recipe produces two “Neapolitan Pizzas” of dough + sauce + mozzarella for £1.80 and feeds 4.  It takes 3 hours.

Start with the dough.  This comes from an edition of Self magazine, that I purchased in (probably) 1992.   It is so simple that it didn’t take me long to internalise the recipe.  I have made this hundreds of times.   Please read the notes at the bottom before proceeding.

Pizza Dough - makes 2, 12-inch pizzas (approximate cost 20p)

Ingredients

2.5 cups of flour (yes, two and a half measuring cups)
1 cup tap water
1 sachet or two teaspoons of easy bake yeast
1 teaspoon olive oil (can be left out)
2 pizza trays (or see note 5 below)

Method

  1. Hand method:  Take off your rings.  Place your flour into a large bowl.  Scatter over the yeast, then make a well in the centre and pour in the water.  Coat your hands with the olive oil, allowing the excess to drip into the mixture.  Using your fingers, fold the flour into the water.  Continue until you have a smooth dough.
  2. Food processor method:  combine all the ingredients in the bowl of the food processor and process until a ball of dough is formed.  Turn the dough out into a large bowl.
  3. Both methods:  if the dough is too sticky at this point, kneed in a little extra flour.  If too dry, kneed in a tablespoon or two more water.
  4. Drape a clean tea towel over the bowl, and place it somewhere warm to rise for an hour.  While waiting, make your tomato sauce.
  5. Take off your rings.  Using your hands, knock back the dough.  (Give it a good thump, then kneed for a minute or two.). Cover and leave in a warm place for another hour.
  6. Knock back your dough again then divide it into two halves.  Form each half into a ball. 
  7. Scatter flour over your work surface and rub into your rolling pin.  Place the first ball of dough into the centre of your work surface and roll it out until it is a) circular, and b) fits your pizza tray.  Carefully lift it onto your pizza tray.  Repeat with the other ball.
  8. At this point, put your oven on to preheat at 240C.  Allow the dough to rise for a further 20 minutes, before covering with toppings.  Meanwhile, prepare your toppings.
  9.  Top your pizzas and bake at 240C for 10-12 minutes.  Serve.

Notes:-

  1. You might have noticed, that I keep telling you to take off your rings.  Yeast dough can be incredibly sticky and hard to remove from your hands.  You don’t want it caught up in your rings.  If you do get coated in dough, soak your hands in water and wash well until the damn stuff comes off.  Don’t be tempted to wipe if off on a towel, because it’ll harden to cement.  (I learnt this the hard way.)
  2. To help stop the dough sticking to you hands, drizzle a small amount of olive oil into the palm of one hand and rub over both palms and your fingers.  They will be greasy.
  3. Only baking for one or two?  The dough freezes well.  At the end of step 6, lightly grease the inside of a freezer bag, drop in one of the balls of dough and freeze.  Remember to label the bag first.
  4. No rolling pin?  Use an empty wine bottle or any similar shaped, tall, round, glass bottle.  Remove the label first.
  5. No pizza tray?  Or only one?  You could use a flat cookie tray and form a lip around the edge of your pizza, to keep the toppings inside.  Alternatively, if you only have one tray, you could leave the second half to rise again as a ball of dough, while the first one is cooking, but that will mean a two-part meal.
Now for the sauce.  This is based on one from Delia Smith (aka St Delia of the Kitchen) but it’s not in the book that I thought it came from.  The flour is to stop it separating and to help thicken it.  (Tomato sauces have a tendency to separate and split.). It freezes well.

Tomato Sauce (approximate cost 65p)

Ingredients

1 onion, finely chopped (10p)
1-2 cloves garlic, crushed (5p)
2x400g cans chopped tomatoes (or the equivalent of home grown). (50p)
1 heaped teaspoon of flour
1 teaspoon dried basil
I-2 teaspoons muscovardo sugar
Possible splash lemon juice or vinegar
1 tablespoon oil

Method

  1. In a decent sized saucepan, heat the oil over a low heat and gently fry the onion until it turns clear and glassy.  Stir in the garlic and fry for a minute or two longer.
  2. Scatter over the flour.  Stir well to ensure everything is covered.
  3. Pour in both tins of tomatoes, stirring continuously and bring to the boil. Turn down to a simmer and stir in the basil and one teaspoon of sugar.  
  4. Simmer until very thick. (This may take 20-30 minutes.) 
  5. Taste the sauce.  Is it too sweet?  Or too sour?  If too sweet, stir in a splash of lemon juice (from a bottle).  If too sour, stir in the second teaspoon of sugar.
  6. Allow to cool before spreading thinly on your pizza base.
Note: you may have sauce left over.  Don’t be tempted to pour it onto the pizzas - it will make for a watery, soggy pizza and your toppings will slide off.


Suggested Toppings

Scatter any combination of the following over your pizza:-

2 x Mozzarella balls, grated  (90p)
100g cheddar, grated (34p) - add to the mozzarella
1 can anchovies, drained (70p)
Sliced pepperoni or salami or chorizo or ham
Thinly sliced mushrooms and/or peppers
Thinly sliced olives
Leftover oven roasted sliced veg (peppers, mushrooms, onions)

Once, baked, the results should look like this.  


Yum!!

- Pam

Wednesday, 8 August 2012

Recipe Tuesday - Chocolate Brownies

(Yes, I know the date stamp below says "Wednesday", but as I type this on Wednesday morning it is still Tuesday evening in California, so I figure this squeaks under the wire.)

Everywhere I've worked in the UK, it's traditional for the birthday girl/boy to bring cakes into the office to celebrate their birthday.  Breaking with the shop-bought norm, a couple of weeks ago I decided I'd bake chocolate brownies, which is what I took into the office on Monday.  They went down a treat!

In the end, I had to make two batches on Sunday.The first batch  were too gooey - our combi oven is on its last legs (we've ordered a replacement) and didn't hold its temperature well, so I got the timing wrong for it.   For the second batch, I used a proper oven - the fan oven on the stove - and they turned out perfectly.

Chocolate Brownie Recipe - makes 16 - 20
Ingredients:
110g dark chocolate  (I used 50% stuff from Lidl)
110g butter
225g self-raising flour (or 225g plain flour plus 2 teaspoons baking powder)
40g cocoa powder
275g soft dark muscovardo sugar
4 eggs, beaten
Method
  1. Preheat the oven to 180C.
  2. Melt the chocolate and the butter together in a medium sized saucepan, over a low heat.  (Or use a large bowl suspended over a saucepan filled with boiling water.)
  3. Stir in the sugar and keep stirring until combined.
  4. Remove the pan from the heat and whisk in the eggs.
  5. Add the cocoa and flour (plus baking powder if using).  Whisk until all ingredients are combined and there are no lumps.
  6. Line a large rectangular baking dish with silicon baking paper (I think mine is 30cm by 20cm and 2cm deep).  Pour in the mixture.  It may not spread all the way to the edge.  Don't worry about that.
  7. Bake at 180C for 15-20 minutes.  If you stick it with a knitting needle, the needle should be slightly sticky but not covered in goo.  Turn out onto a cake rack and allow to cool.
  8. Once cool, cut into 16 or 20 squares.  Store in an airtight container.
Notes
Mixing - I mixed this by hand using a balloon whisk.
Flour - I used what I have in stock, which is wholemeal chapatti-bread flour and added baking powder.
Eggs - The second time I made this yesterday, I only had 3 eggs.  Turned out slightly stiffer and a fraction smaller but otherwise fine.
Time - takes 5 minutes to measure all the ingredients.  Another 5-10 minutes to melt the chocolate and butter and combine everything into a batter.
Doubling up - The first time I made this recipe, four months ago, I made a double quantity.  It works well but you get a lot of brownies.  
Enjoy!
- Pam

Sunday, 25 January 2009

Putting a marker in the flour

Two weeks ago, I phoned Vina: "Is £4.99 for 10kg a good price for Atta Flour?", I asked. Atta flour is wholemeal Asian bread flour and Tesco's had a special offer.

Vina is used to my stranger culinary questions; I've regularly picked her brain about Asian food and the best places to buy it. (She knows my love for her native cuisine.) This time she filled me on the best grade of Atta flour to buy (Vina uses medium to make chapatis) and that her regular price was closer to £13.

Tonight, DH and I decanted a 10kg sack of fine, medium-wholemeal Atta flour into my largest tupperware container. Plus two other mid-sized ones. (Despite my best efforts, I didn't have a container large enough.) The flour is finely milled and the bran-wheatgerm bits have been ground to a fine powder. It should make light, fluffy baked goods. I'm wondering how it will go in a regular bread recipe.

I reckon that I have enough flour to last most of the year. I'll let you know how it goes.

- Pam

Tuesday, 27 November 2007

Banana Bran Bread

It's a while since I honoured "Recipe Tuesday", so I thought I'd get back into the habit. :o)

When DH and I go grocery shopping, one of our regular purchases is a hand of bananas. We both take a banana to work each day, so most of the time they get eaten before they go too black and soft. The ones that don't end up in one or other version of banana bread. Surplus bananas end up in the freezer until I'm in the mood to use them.

This is my favourite banana bread. My dad used to call it "Walnut Loaf", because the cooked brown rice takes on a nutty, chewy texture. It
must be brown rice; the recipe doesn't work very well with white. Sometimes the rice can get quite hard - I bit into a piece on Sunday and chipped an already dodgy tooth.

It's a good recipe to double, if you've got the oven space.

For Weight Watchers, follow the recipe using skimmed milk, oil, soy flour and the half sugar/half Splenda options. The recipe makes 12 muffins (at 3 WW points each) or 1 large loaf giving 20 half-slices at 2 WW points each.

Banana Bran Bread

Ingredients

2 soft bananas
70ml oil (or 100g butter)
100g soft dark muscovardo sugar/molasses sugar/raw sugar (or use 50g sugar & 1/2 cup of Splenda)
2 eggs (or 2 tablespoons soy flour and 3 tablespoons of water)
1/4 cup of milk (60 ml)
150g wholemeal self raising flour
1 teaspoon ground cinnamon
1 teaspoon bicarb soda
1 cup cooked brown rice

Method
  1. Preheat oven to 180 C.
  2. Cream together the banana, oil/butter and sugar +/- Splenda.
  3. Blend in the eggs (or soy flour and water if using), then the milk.
  4. Sift over the dry ingredients blending as you go (that's the flour, cinnamon and bicarb).
  5. Finally, stir in the rice. (If you are doing this in a food processor, just give it a quick burst to blend.)
  6. Pour into a lined loaf pan and bake for 1 hour. Alternatively, pour into 12 muffin cups and bake for 20-25 minutes. It's done when a skewer pushed into the centre comes out clean.
  7. Remove from the oven and allow to cool for 10 minutes before turning out onto a cake cooler.
- Pam

Tuesday, 14 August 2007

Courgette Cake

Another entry in my continuing saga of how to use up courgettes. :o)

I first had this cake at a team meeting in 2003, when Nikki presented it as her "mystery cake". It was unadorned with icing or filling, green flecked, delicious and totally mystifying. We couldn't guess the main ingredient.

This is my version. The original is in Nigella Lawson's, How to Be a Domestic Goddess. I make it as a loaf cake and serve it unadorned. This way, it is perfect for lunch boxes. The recipe makes 12 large slices or 24 half-slices at 2 WW points for each half-slice.

Ingredients

2 medium sized courgettes (zucchini), grated using course side of box grater
2 large eggs
125ml vegetable oil
150g caster sugar (I use vanilla sugar)
225g self-raising flour
1/2 teaspoon bicarbonate of soda (baking soda)
1/2 teaspoon baking powder

Method

1) Preheat oven to 180C/350F.

2) Combine eggs, oil and sugar in bowl. (I do this in the food processor.)

3) Sieve in flour, bicarb and baking powder and beat until well combined. Mixture is quite stiff.

4) Stir in grated courgettes (if using food processor, process for minimum time until combined).

5) Pour into lined loaf pan and bake for 60 minutes until slightly browned and firm to touch.

6) Allow to partially cool in loaf pan before turning out.

7) Fight DH off so that you can get a piece! LOL!

Enjoy!

- Pam

Tuesday, 7 August 2007

English Flapjack

Today's recipe is dedicated to a couple of posters at the Motley Fool, who requested it.

Until I came to Britain, I thought "flapjack" was an American style pancake made with buttermilk - a bit like an overgrown pikelet. Here, however, "flapjack" means an oat-based bar, welded together with sugar and butter. It's my absolute favourite sweet thing.

This is a really easy recipe to double or triple. For portion control reasons, I tend to make mine in muffin pans. Traditionally, they're made in a square or rectangular cake tin and sliced when warm (see Note A below). Each flapjack is 2.9 Weight Watchers points.

Ingredients

6oz/175g Oats
4oz/100g butter
6 level tablespoons soft, dark muscovado/molasses sugar
1 tablespoon Golden Syrup or Maple Syrup


Method

1) Preheat oven to 180 C /350 F.

2) Melt butter in saucepan, add sugar and Golden/Maple Syrup and stir until dissolved. Remove from heat and stir in oats.

3) Spoon evenly into 12 greased muffin pans and bake for 8 minutes.

4) Allow to cool in pans until they start to harden. Turn out and allow to go cold before serving. (Note, if you allow them to get too hard in the pans, they'll stick. But if they're turned out when too soft, they'll crumble!)

5) Store in fridge

Notes:

A) You can also bake them together in a well greased, non-stick, rectangular cake pan for 20 minutes, remove from oven and score into 12-15 bars. Allow to cool and then turn out. I've found that they are harder to turn out without breaking or sticking to the pan this way

B) If you can't get Golden Syrup, use pure Maple Syrup. They'd work well with honey or molasses ("treacle") too.

C) Do NOT use margarine. These taste so much better with real butter.


- Pam